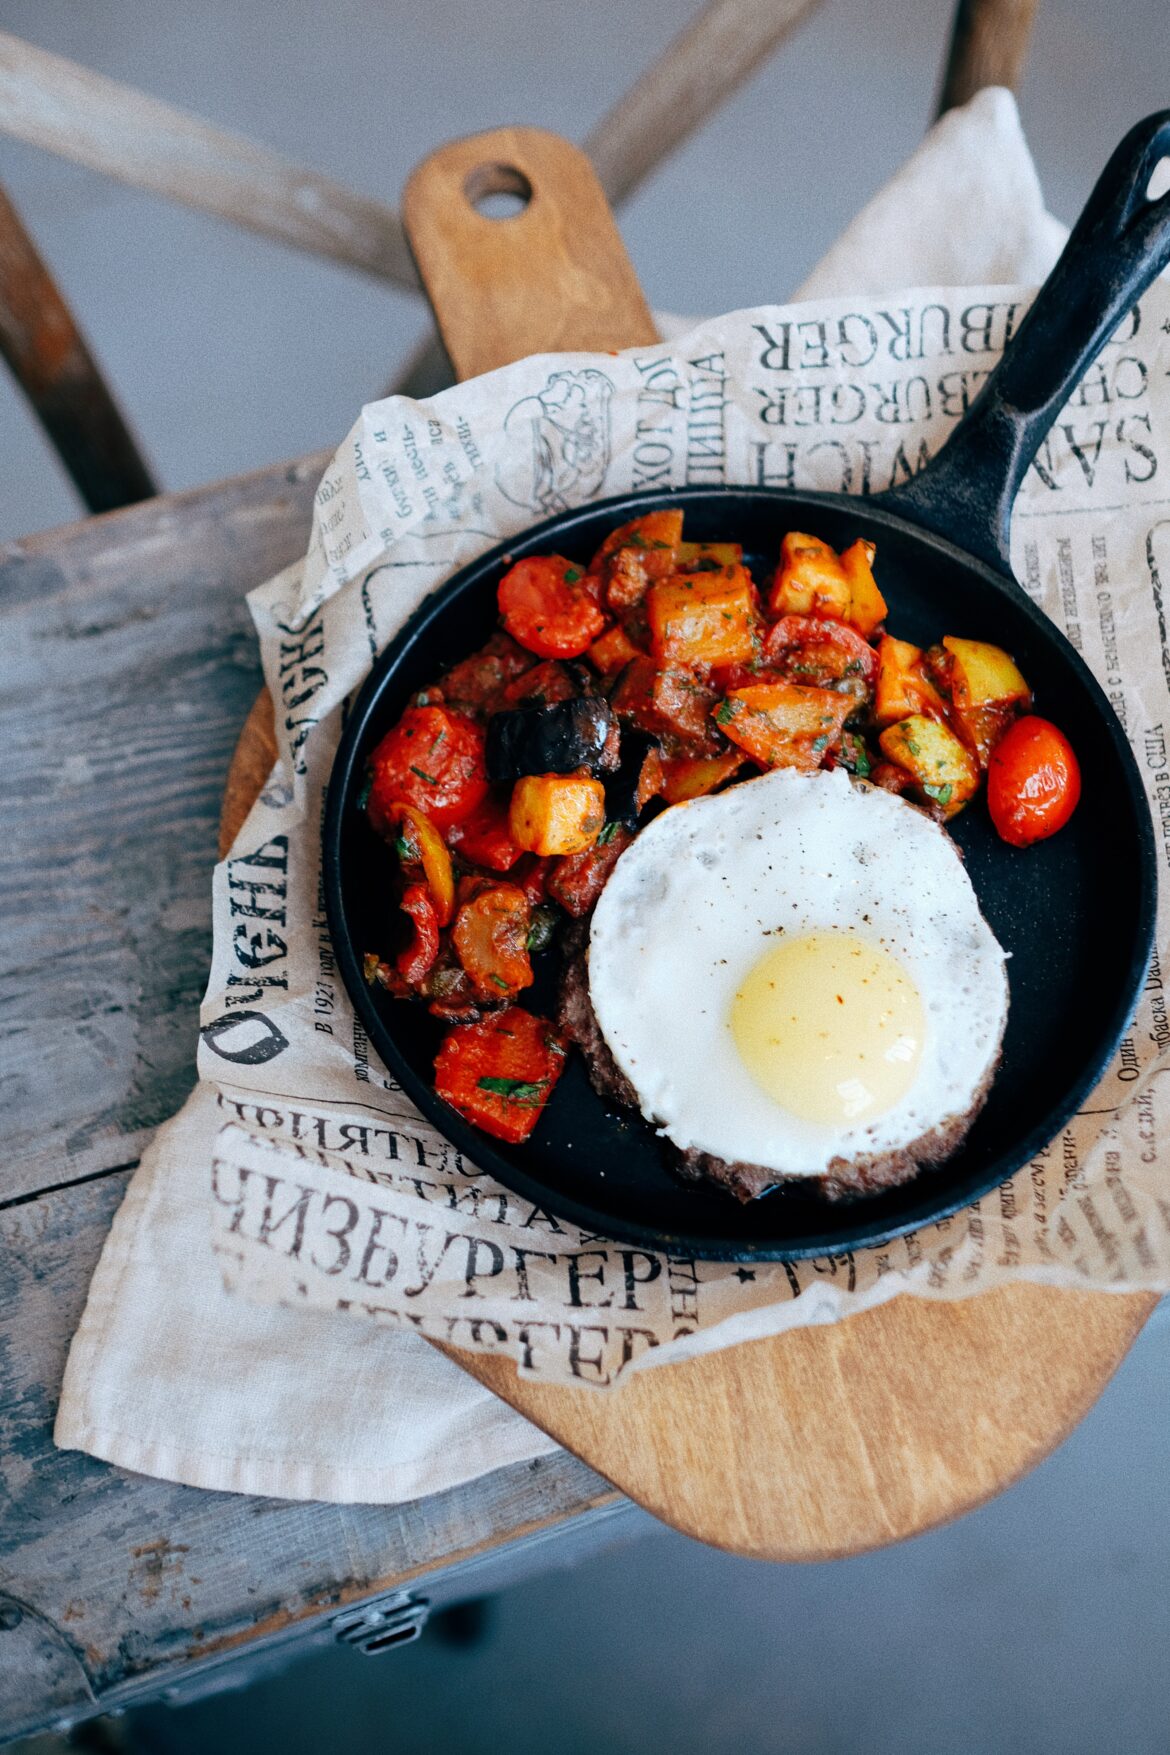
A cast iron pan is one of the most versatile and durable tools in any kitchen. Whether you’re searing steaks, frying eggs, or baking cornbread, a well-seasoned pan enhances flavour and improves performance. However, proper care is essential to maintain its non-stick surface and prevent rust. One crucial aspect of care is seasoning. In this guide, we’ll walk you through how to season a cast iron pan effectively, ensuring it lasts a lifetime.
Why Should You Season a Cast Iron Pan?
Seasoning is the process of applying a thin layer of oil to the surface of your pan and heating it until it polymerizes, forming a protective, non-stick layer. This layer prevents rust, enhances the pan’s cooking performance, and creates a natural non-stick surface over time. While many modern cast iron pans come pre-seasoned, regular re-seasoning helps maintain their effectiveness and prolongs their lifespan.
Step-by-Step Guide to Seasoning Your Cast Iron Pan
Step 1: Clean the Pan Thoroughly
Before seasoning, you need to clean your pan properly. Contrary to popular belief, using mild dish soap on a well-seasoned pan won’t strip its seasoning. Follow these steps:
- Wash the pan with warm water and mild dish soap.
- Scrub any rust or stuck-on food using a sponge or steel wool.
- Rinse thoroughly and dry immediately.
For heavily rusted pans, use steel wool or a vinegar soak to remove rust before proceeding.
Step 2: Dry the Pan Completely
Water is the enemy of cast iron. After washing, dry your pan with a clean towel, then place it over low heat on the stovetop for a few minutes. This ensures all moisture evaporates, preventing rust and allowing for even oil application.
Step 3: Apply Oil Evenly
Choosing the right oil is key. Flaxseed oil is the top choice due to its superior polymerization, but vegetable, canola, and grapeseed oils also work well. Avoid using solid fats, as they are harder to apply evenly.
- Pour a small amount of oil onto a paper towel.
- Rub a very thin layer over the entire pan, including the handle and exterior.
- Wipe away any excess oil to prevent a sticky residue.
Step 4: Bake the Pan in the Oven
For the best seasoning, bake the oiled pan to allow the oil to polymerize and create a durable non-stick surface.
- Preheat your oven to 230°C (450°F).
- Place the pan upside down on the oven rack, with a baking tray underneath to catch drips.
- Bake for 30 minutes.
- Remove the pan (using oven mitts), apply another thin coat of oil, and return it to the oven.
- Repeat this process 3-4 times to build a strong seasoning layer.
Step 5: Maintain Your Cast Iron Pan
Once seasoned, proper care will keep your pan in top shape for years. Follow these essential maintenance tips:
- Avoid soaking – Prolonged exposure to water can cause rust. Clean the pan immediately after use.
- Use gentle utensils – Wooden or silicone utensils prevent scratching the seasoning layer.
- Limit acidic foods – Cooking acidic ingredients like tomatoes can weaken the seasoning. Opt for stainless steel or enamelled cast iron for acidic dishes.
- Store properly – Ensure your pan is completely dry before storing. Place a paper towel or cloth between stacked pans to prevent scratches.
Enjoy Cooking with Your Well-Seasoned Cast Iron Pan
Now that you’ve successfully seasoned your cast iron pan, you can enjoy perfectly seared meats, crispy vegetables, and flavourful one-pan meals. With the right care, your pan will only improve over time, becoming a cherished kitchen essential.
Looking for inspiration? Check out our best meat recipes to try in your newly seasoned pan!
